Are you ready to dive into the world of real estate analysis with ease and precision?
Whether you're curious about rehab costs for a property or want to gauge the cash flow potential of a rental investment, PropStream's Analysis Tool has got you covered! Say goodbye to the guesswork and hello to actionable insights with our user-friendly tool that generates reports in a convenient PDF format.
In this guide, we'll walk you through the process of utilizing the Analysis Tool on PropStream step by step:
Table of Contents
Step 1: Accessing the Analysis ToolStep 2: Inputting Purchase Information
Step 3: Providing Mortgage Details
Step 4: Adding Income and Expenses Information
Step 5: Inputting Sale Details
Step 6: Downloading and Saving Reports
Step 1: Accessing the Analysis Tool
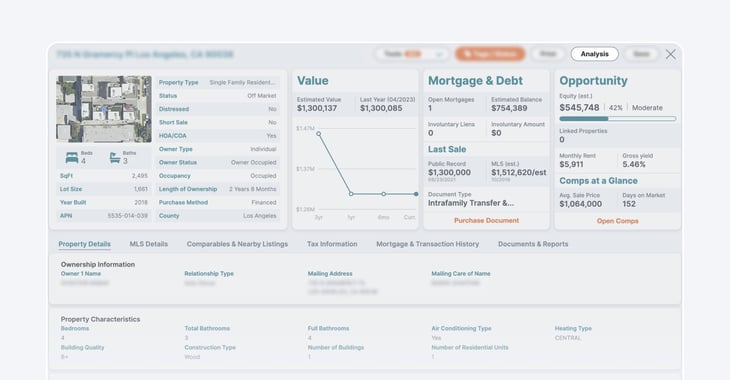
Begin by clicking on a property to open its details page. Next, click the “Analysis” button in the top right corner of the page.
The Analysis Tool will prompt you to fill out five categories of information:
- Purchase
- Mortgage
- Income
- Expenses
- Sale
Pro Tip: Users must obtain this information independently to plug into the Analysis Tool.
Step 2: Inputting Purchase Information
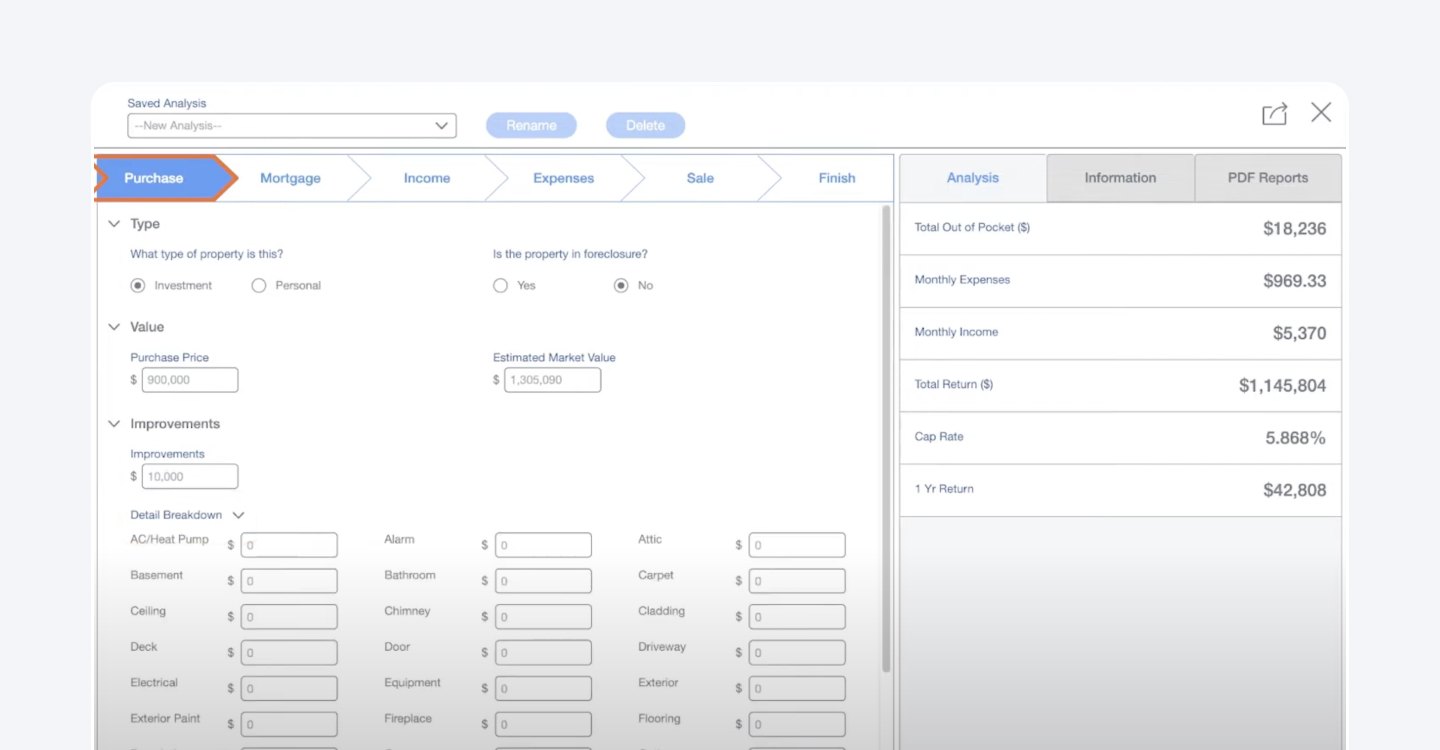
Under the “Purchase” tab, input details such as the property type, purchase price, and costs of any improvements. Providing a detailed breakdown of improvements can enhance the accuracy of your analysis.
Step 3: Providing Mortgage Details
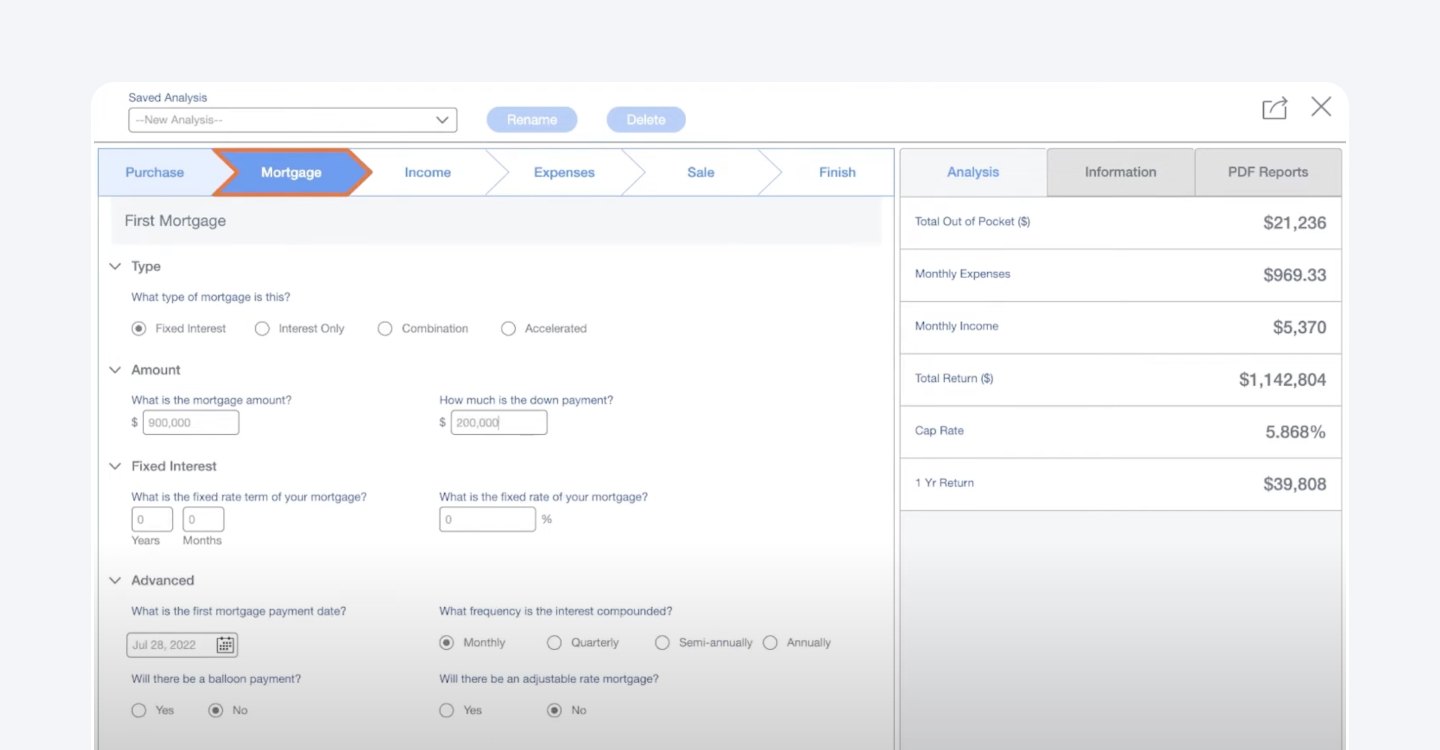
Under the “Mortgage” tab, enter information about the type of mortgage, mortgage amount, and interest details.
Note: This section is dynamic, with choices adjusting based on the type of mortgage selected.
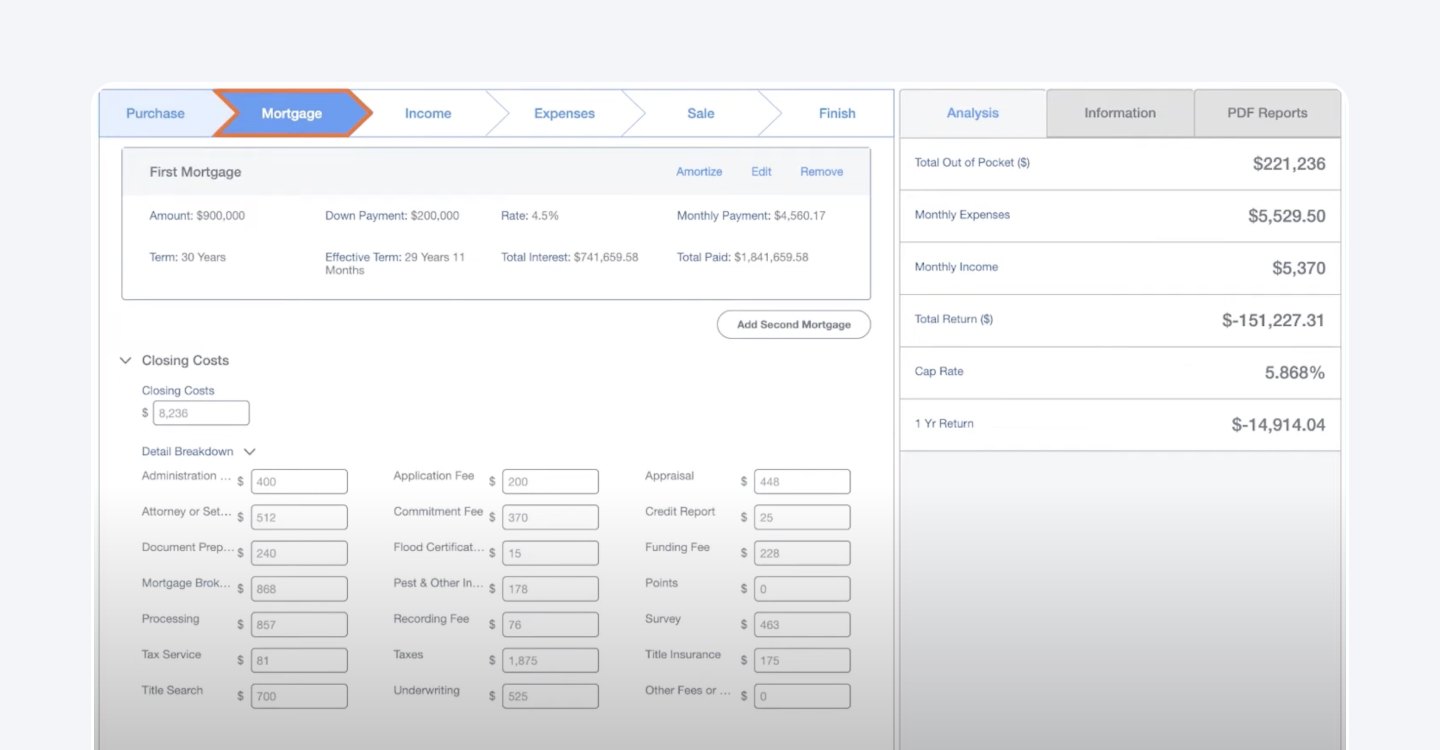
Next, input the closing costs associated with the deal as a lump sum or a detailed breakdown. To achieve more precise results, ensure you update these costs with relevant closing costs for your area.
Step 4: Adding Income and Expenses Information
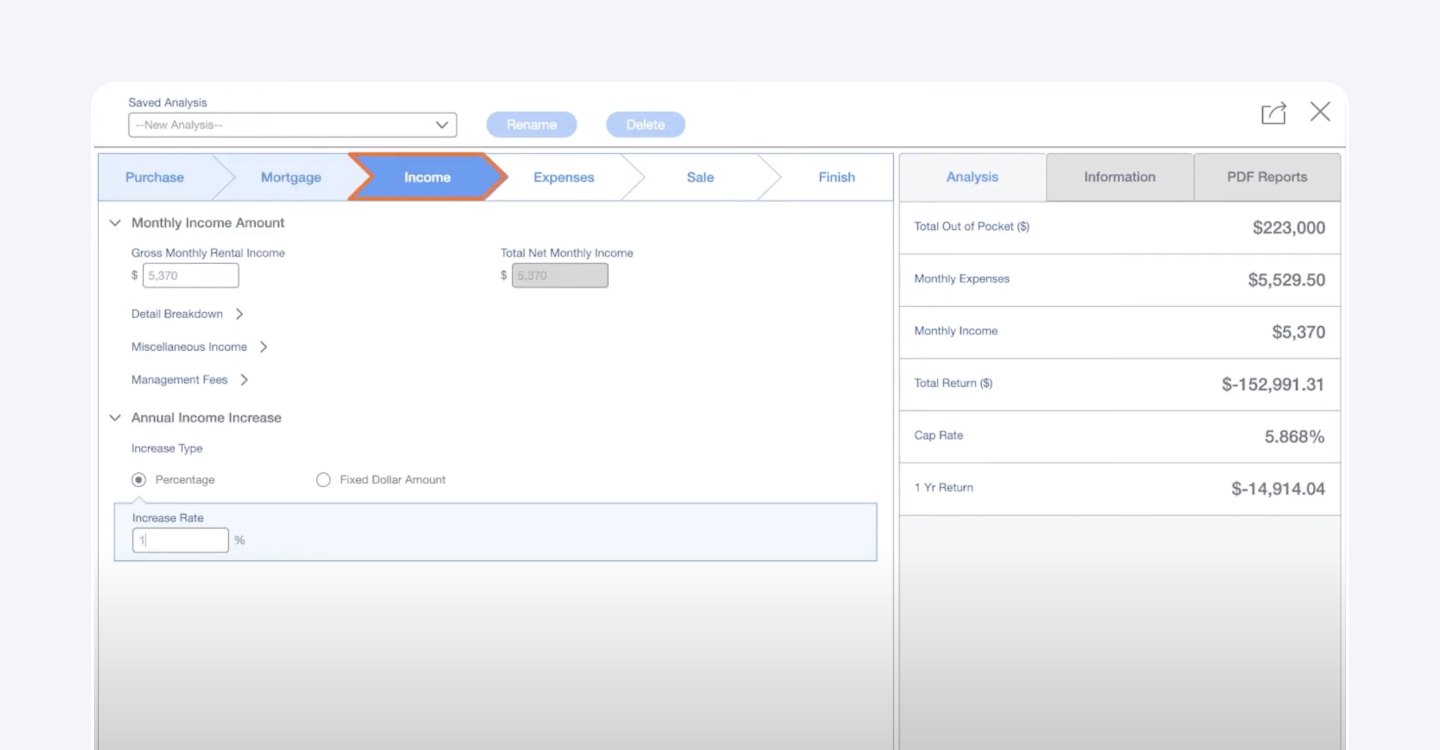
On the “Income” tab, enter monthly income amounts and the annual income increase.
The “Expenses” tab will ask you to provide the total monthly expenses and annual expense increase. Providing as much detail as possible here is vital to generating accurate analyses.
Step 5: Inputting Sale Details
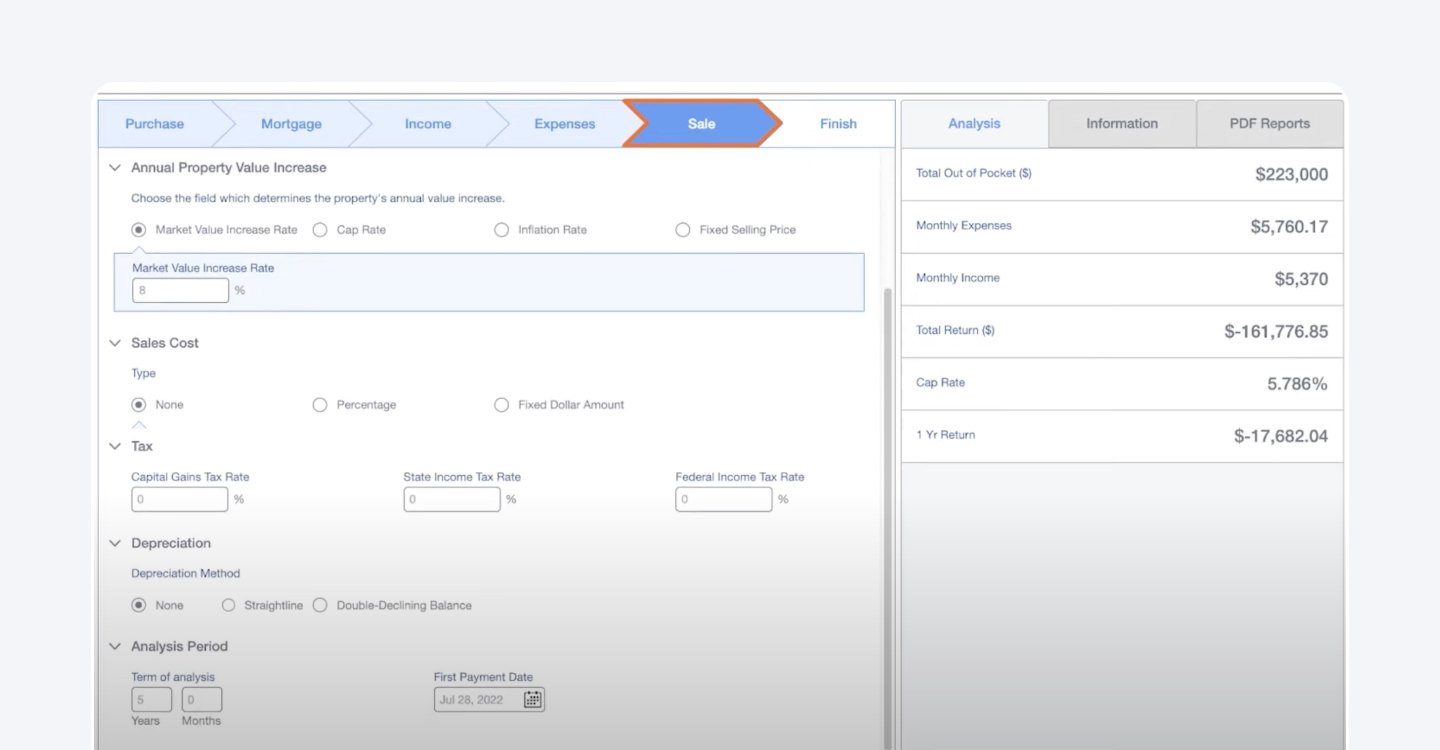
Lastly, on the “Sale” tab, designate the property's starting value, annual value increase, sales cost, tax rates, and depreciation. Input the term of the analysis in years and months.
Step 6: Downloading and Saving Reports
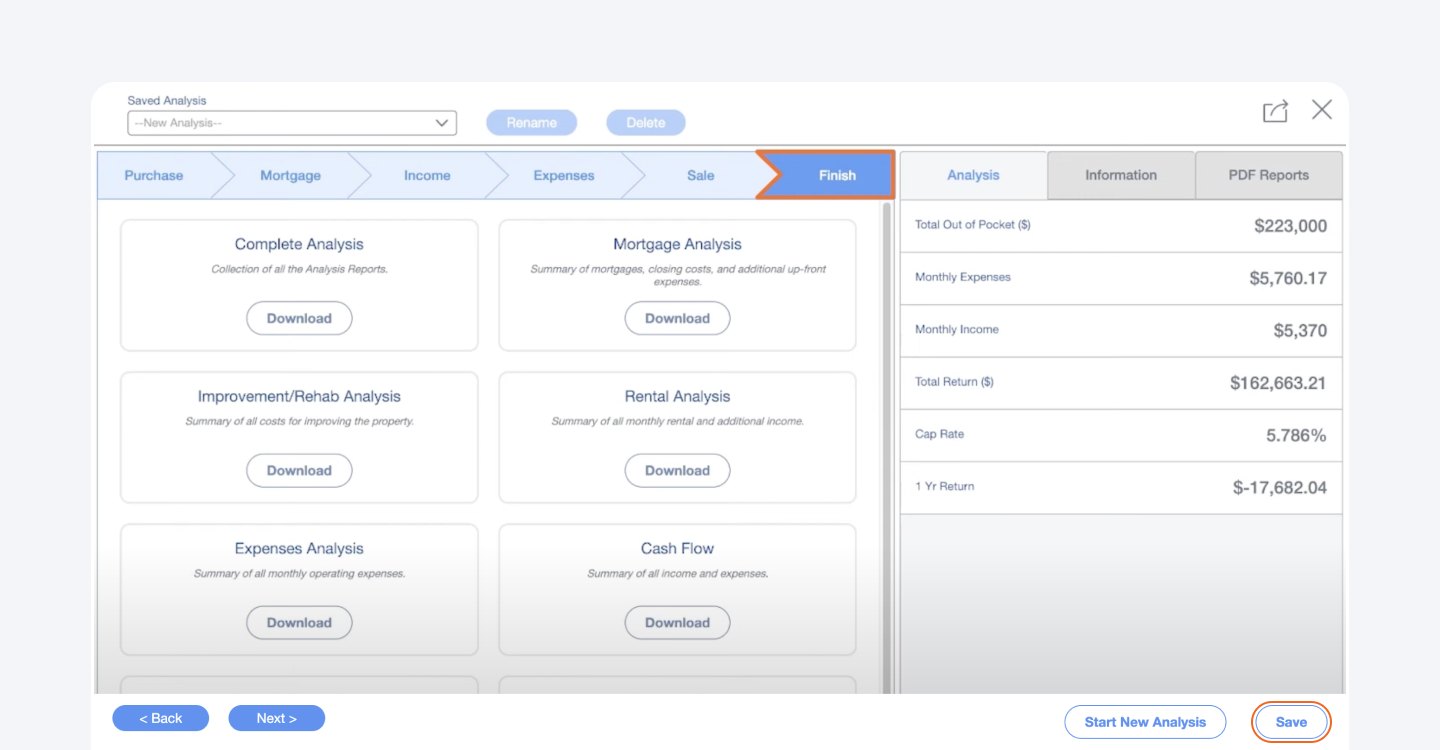
Once all details are entered, click the “Finish” tab to download your PDF reports.
PropStream offers various report options, including:
- Complete Analysis
- Mortgage Analysis
- Improvement/Rehab Analysis
- Rental Analysis
- Expenses Analysis
- Cash Flow
- Taxes and Deductions
- Property Sale
You can save your analysis by clicking "Save,” which will allow you to access it later under "Documents and Reports" or by selecting "Analysis" again on the property details page.
PropStream It!
By following these steps, you can leverage PropStream's Analysis Tool to conduct thorough property analyses, make the most informed investment decisions, and optimize your real estate ventures.
See the analysis tool in action by activating your 7-day free trial!